|
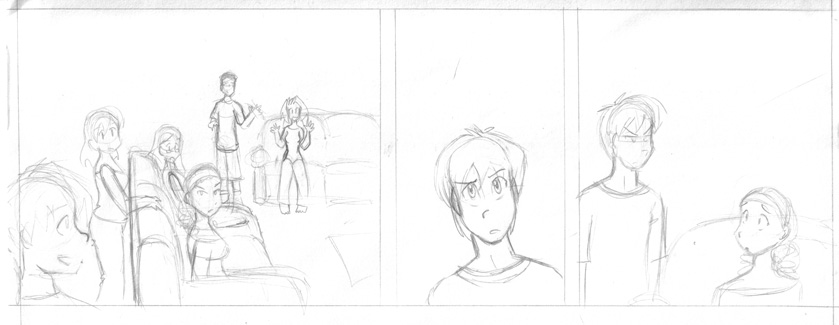
Tutorial- Scanning and Lineart Tutorial First, I draw the comic. I just use a plain old .05 mechanical pencil. I switch to a .03 pencil when I have to draw really small. I use regular copy/computer paper, but I make sure its the acid free kind. I'll probably upgrade the kind of paper I use later on though.
Next, I ink. I use The Faber-Castell pens. Mostly the S size and the Brush pen. Then I erase the pencil marks with a kneaded eraser.
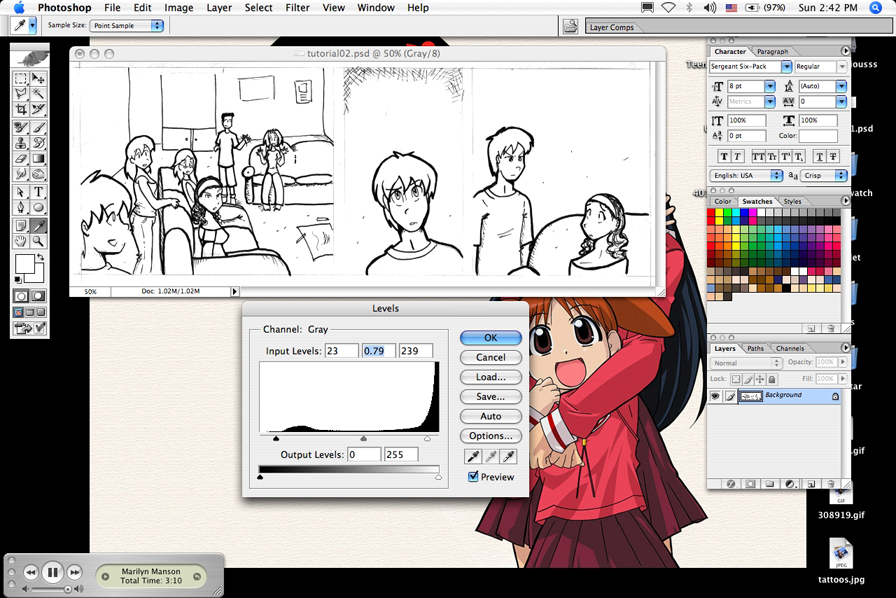
Then comes scanning into Photoshop CS. I scan at 300dpi in Greyscale. I use greyscale because this reduces the file size from the get go. Once on the screen, I resize the image 50%. Image is still far from being ready to color though. Then
I adjust the levels. Image>Adjustments>Levels
Next
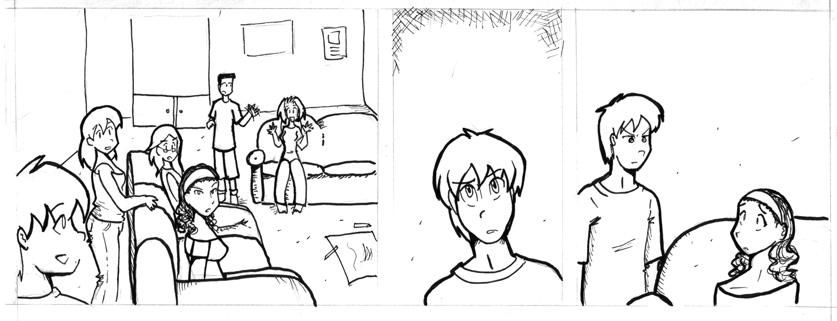
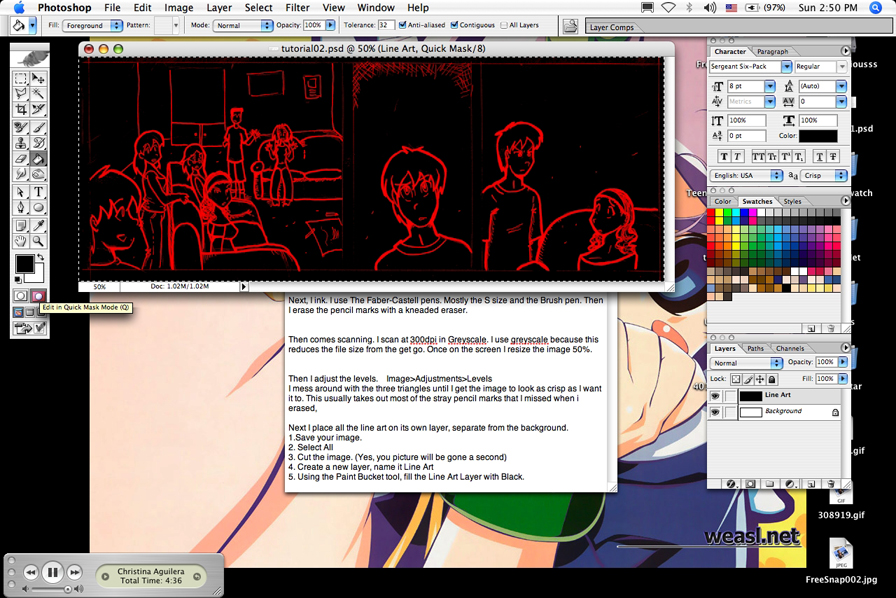
I place all the line art on its own layer, separate from the background.
7. Paste (Everything should be in black and red now)
|